Deploying Rule projects into IBM Bluemix
IBM Bluemix is a cloud platform that helps you solve real problems and drive business value with applications, infrastructure and services. There are other powerful cloud services like AWS, Azure or Google Cloud platform but IBM Bluemix comes with pre-designed services for your IBM software solutions. In this article we will see how the Business Rules service allows us to deploy our Decision Operations from Rule Designer or Decision Center console directly to IBM Bluemix cloud. In order to test this you will need to create a IBM Bluemix account that comes with 30 days free trial.
Steps:
- Creating the Business Rules service
- Login to your IBM Bluemix account.
- Click “Catalog” and search for “Business Rules”
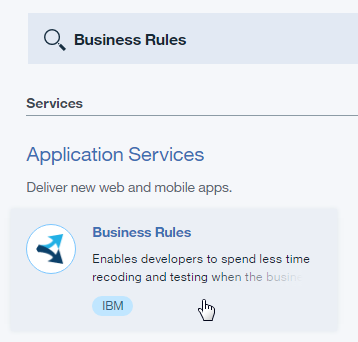
- Tip: This service gives you 1,000 API calls free per month that is more than enough for dev purposes, you can cancel the service at any time.
- Click “Create” and give a proper name.
- Navigate to the “Connection Settings” tab and you should be able to see the connection details like this:
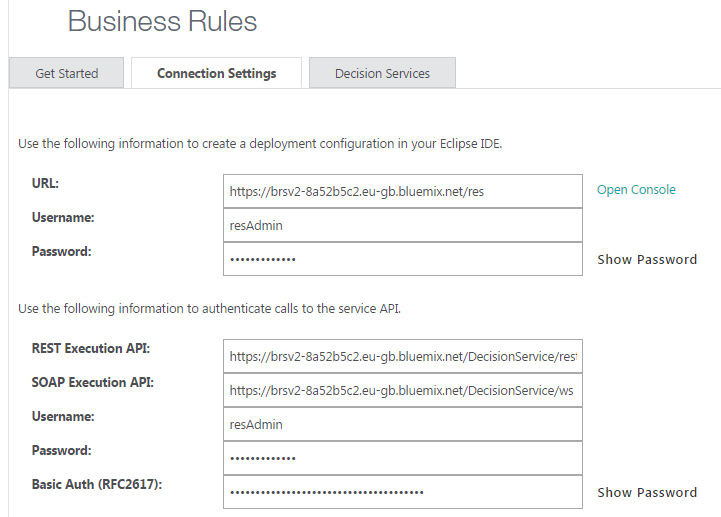
- Tip: Click “Open Console” and navigate just like in your RES local installation.
- Configuring the Deployment
- Now that our Business Rules service on IBM Bluemix is ready, let’s configure and deploy the Rule project.
- Open Rule Designer and navigate to the deployment folder of the Rule project.
- If you have a previous deployment configuration already set up you can just add the new IBM Bluemix RES server target:
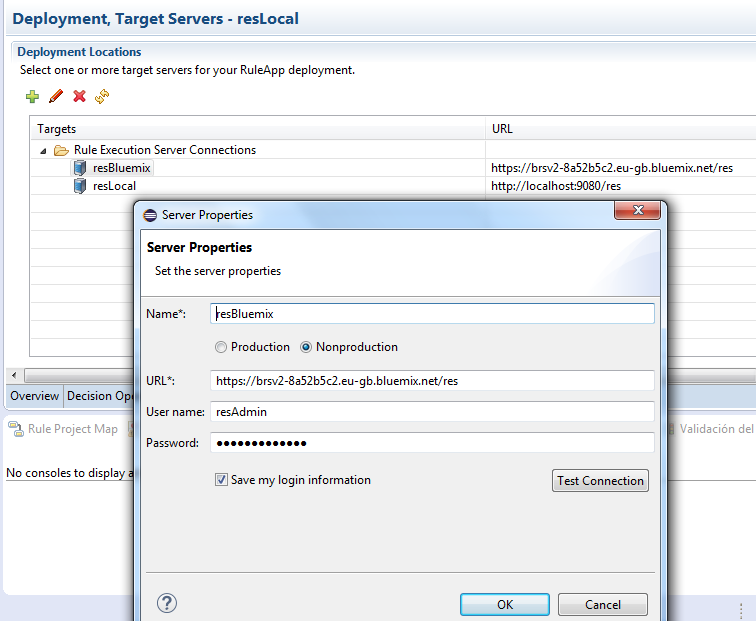
- Insert the Bluemix connection details and test the connection.
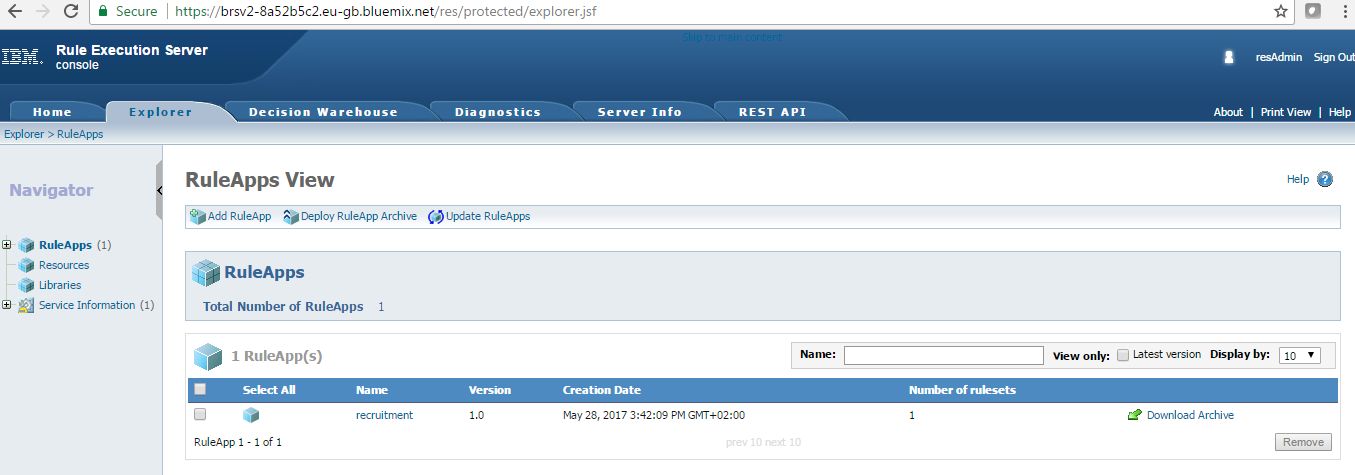
- Deploy the Decision Operation Ruleapp and verify the deployment by accessing the IBM Bluemix RES console.
- The Ruleapp should appear like this:
- Testing our Rule web service in SoapUI
- Navigate to the Ruleset view by clicking on the Ruleapp Name and then the Ruleset name in the RES console.
- Click the “Retrieve HTDS Description File” option:

- Download the SOAP HTDS file or click view and copy the WSDL URL.
- Open SoapUI and create a New SOAP project.
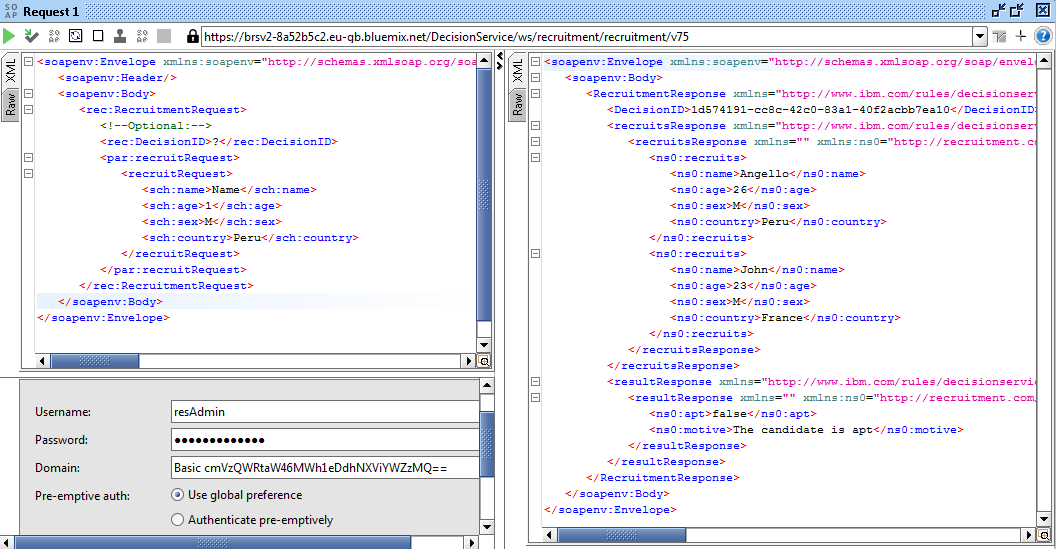
- Insert the wsdl URL, username and password.
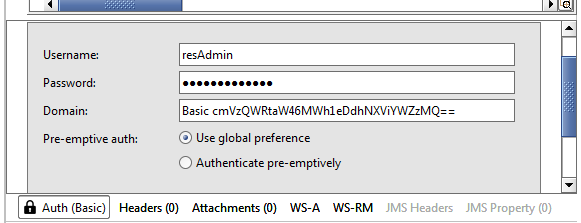
- Now you have the request ready, the only thing missing is the security authorization. Click the “Auth” option and select Basic, type the Bluemix Business Rules service username and password.
Results:
You are ready to call your Rules from anyplace, anywhere. Just share your WSDL url with the client application and give the proper authorization. Having the Rule Execution Server on the cloud is a great way to test your rules in development without depending on your local Sample Server.
I hope you enjoy this tutorial and as always please feel free to contact me for any feedback or questions! Thank you!
- Published in Bluemix, Cloud, Rule Authoring, Rule Designer, Rule Execution Server (RES)