If you are a DevOps enthusiast like me you probably love Docker and have been using it for a while. If you are new to Docker, please check this link to learn more.
IBM released an IBM ODM Docker image designed for developers and free to use, in this tutorial we are going to set it up step by step and gain full functionality of this amazing feature. My setup for running this tutorial is:
- Host machine: Windows 10 Pro
- Elementary OS (Ubuntu Dist.) Virtual Box Machine with Docker (I tried using my Alpine-Docker image but I encountered some extra configurations needed for the ODM JVM, contact me for more information about this subject)
- Eclipse Luna with Rule Designer for developers plugin
Steps:
- Install IBM ODM Docker image
- Open a new terminal window and run the following command: docker pull ibmcom/odm

- This will download all the ODM files and create the IBM ODM image. Depending on your internet conection this process could take a few minutes.
- Now run the following command to start the docker IBM ODM container instance:
docker run -e LICENSE=accept -p 9060:9060 -p 9443:9443 ibmcom/odm
- Note that we are passing an environment value to accept the license and mapping the ports 9060 and 9443. If you run with JVM memory problems use -m 1g or the amount of java heap size memory you can use for this container to run smoothly and faster.
- If everything went well you should see the beautiful IBM ODM logo printed in the terminal

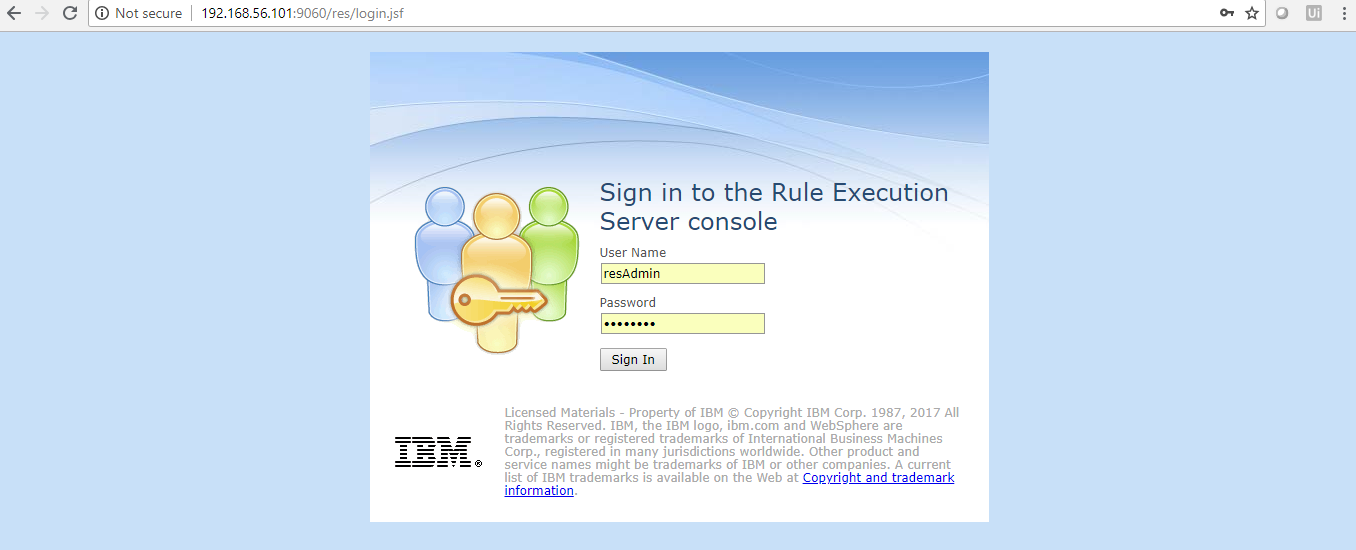
- Now you are ready to use:

- Note that if you are using a Virtual Box VM like me you need to configure your networks and ip addresses to use the web applications in your host. In my case I use the 192.168.56.101 ip. See Host-Only adapter configurations and verify your networks by pinging the VM ip.
- Open a new terminal window and run the following command: docker pull ibmcom/odm
- Verify Installation
- Install Eclipse with IBM ODM plugin
- Download and install Eclipse.
- Navigate to https://marketplace.eclipse.org/content/ibm-operational-decision-manager-developers-rule-designer and drag and drop the install

- Follow the instructions and reboot Eclipse, you should now see the Rule Designer perspective:

- Test IBM ODM on Docker
- Create a new project or import an existing project, I am going to use the Recruitment Service demo that I’ve using on previous posts:
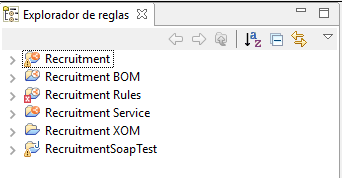
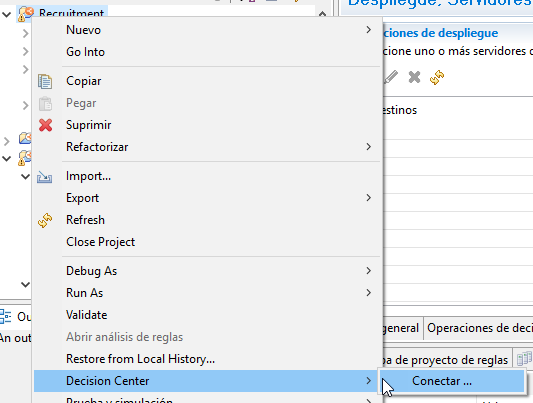
- Connect the main project to the Decision Center
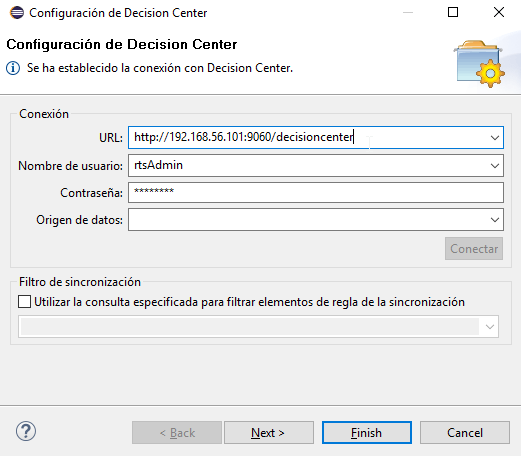
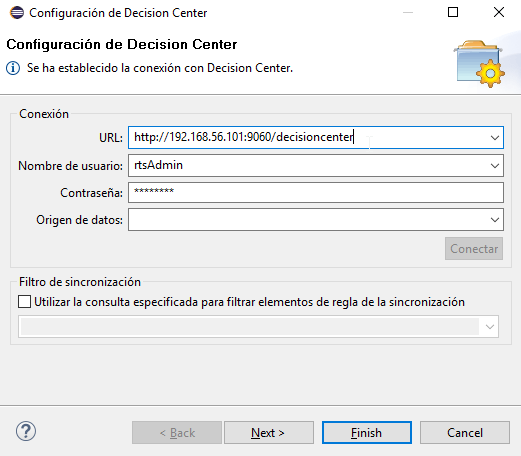
- Enter the proper URL and credentials and test the conection:
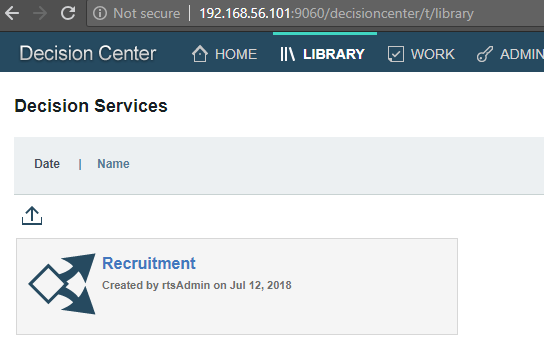
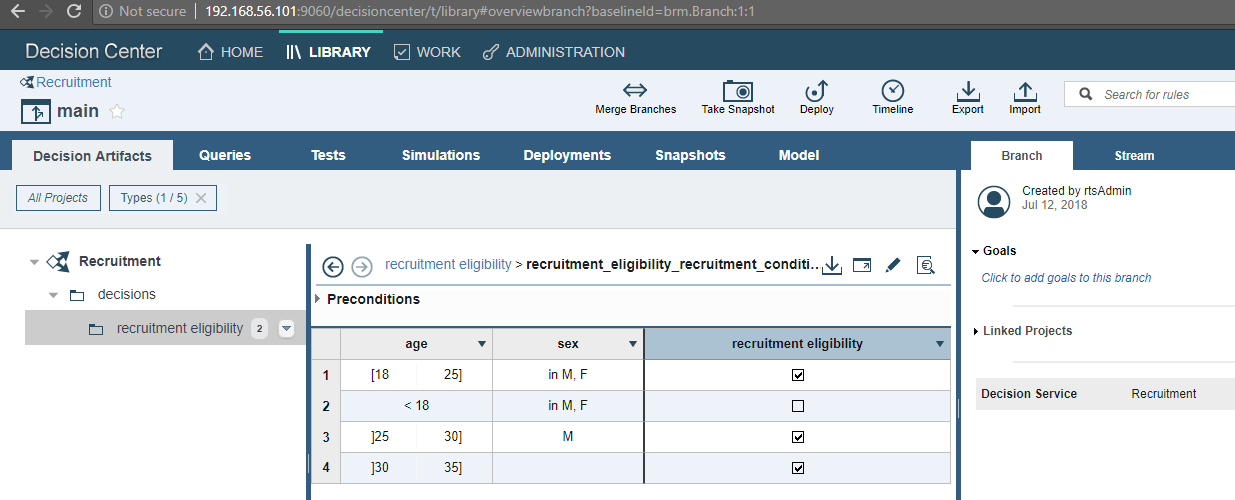
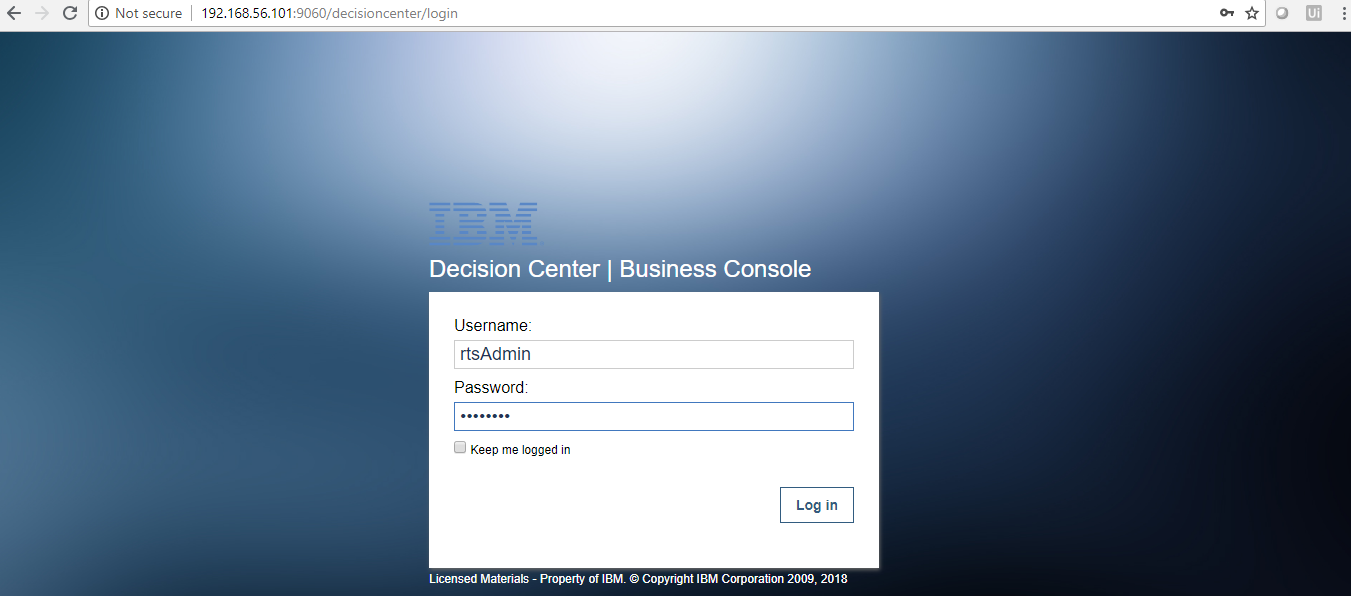
- Navigate to the Decision Center and verify the Decision Service is uploaded correctly:

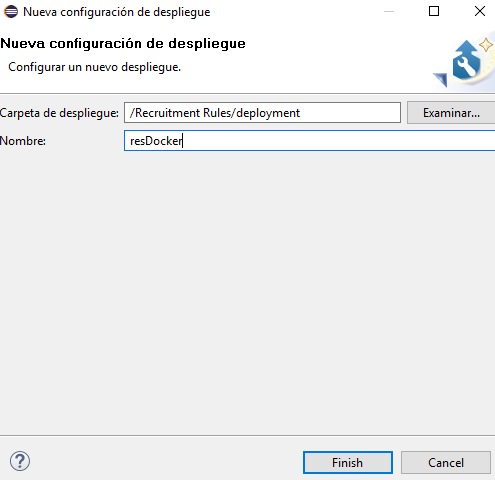
- Now we will test the deployment to the RES console, create a new Deployment Configuration
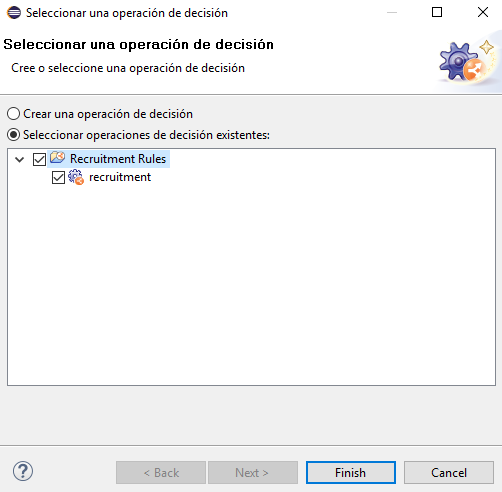
- Add a Decision Operation
- Add the ODM docker RES service
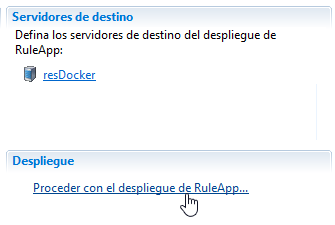
- Deploy the Ruleapp and select the recently added server

- Verify the ruleapp deployed correctly

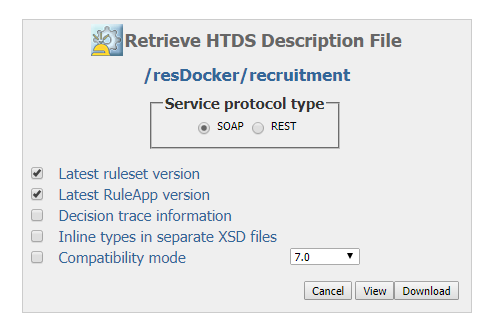
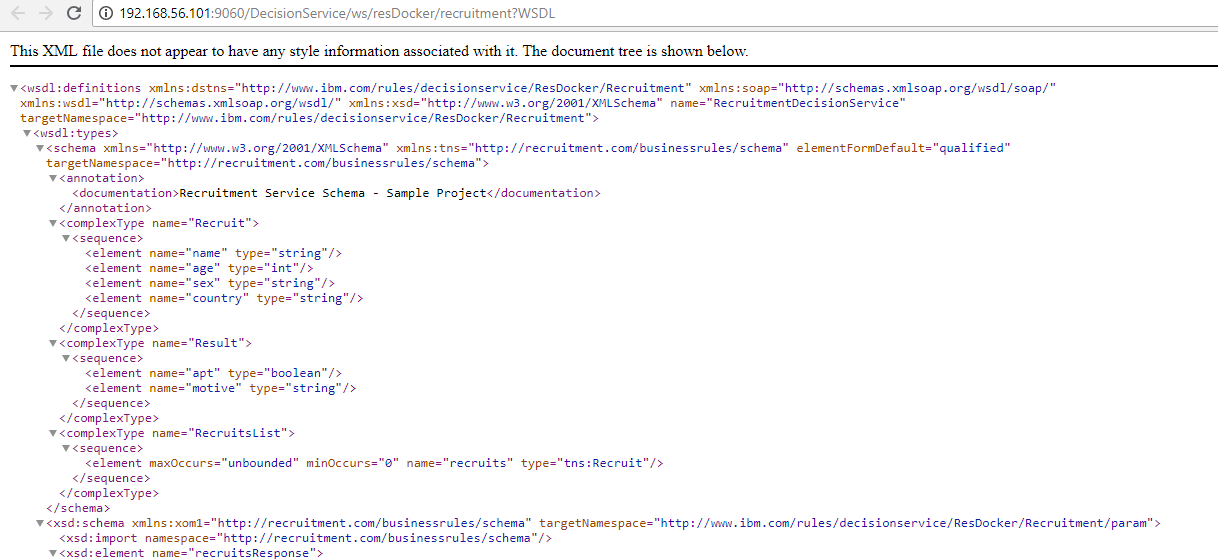
- Create a new project or import an existing project, I am going to use the Recruitment Service demo that I’ve using on previous posts:
As you can see we setup an ODM distribution in minutes and got a project sync with Decision Center and deployed in the RES console. ODM on Docker is great, we can use all the Docker containers and images functionalities.
I hope you enjoy this tutorial and as always please feel free to contact me for any feedback or questions! Thank you!


Hi, I am looking for a solution ruleapp jar to deploy when container creates. So when container created on ICP, it is ready to be used.
Is it possible ruleapp jar deployment on container creation?
Yes but you need to use some kind of CI pipeline deployment (TFS, Atlassian, etc) and add the ant tasks steps in your build to deploy to the RES automatically after the docker container is generated. Refer to my post about ant tasks deployments for more information.