ODM on Docker!
If you are a DevOps enthusiast like me you probably love Docker and have been using it for a while. If you are new to Docker, please check this link to learn more.
IBM released an IBM ODM Docker image designed for developers and free to use, in this tutorial we are going to set it up step by step and gain full functionality of this amazing feature. My setup for running this tutorial is:
- Host machine: Windows 10 Pro
- Elementary OS (Ubuntu Dist.) Virtual Box Machine with Docker (I tried using my Alpine-Docker image but I encountered some extra configurations needed for the ODM JVM, contact me for more information about this subject)
- Eclipse Luna with Rule Designer for developers plugin
Steps:
- Install IBM ODM Docker image
- Open a new terminal window and run the following command: docker pull ibmcom/odm

- This will download all the ODM files and create the IBM ODM image. Depending on your internet conection this process could take a few minutes.
- Now run the following command to start the docker IBM ODM container instance:
docker run -e LICENSE=accept -p 9060:9060 -p 9443:9443 ibmcom/odm
- Note that we are passing an environment value to accept the license and mapping the ports 9060 and 9443. If you run with JVM memory problems use -m 1g or the amount of java heap size memory you can use for this container to run smoothly and faster.
- If everything went well you should see the beautiful IBM ODM logo printed in the terminal

- Now you are ready to use:
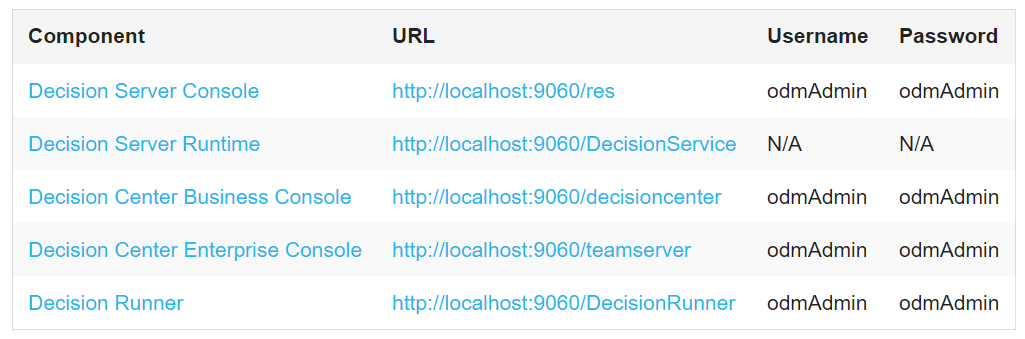
- Note that if you are using a Virtual Box VM like me you need to configure your networks and ip addresses to use the web applications in your host. In my case I use the 192.168.56.101 ip. See Host-Only adapter configurations and verify your networks by pinging the VM ip.
- Open a new terminal window and run the following command: docker pull ibmcom/odm
- Verify Installation
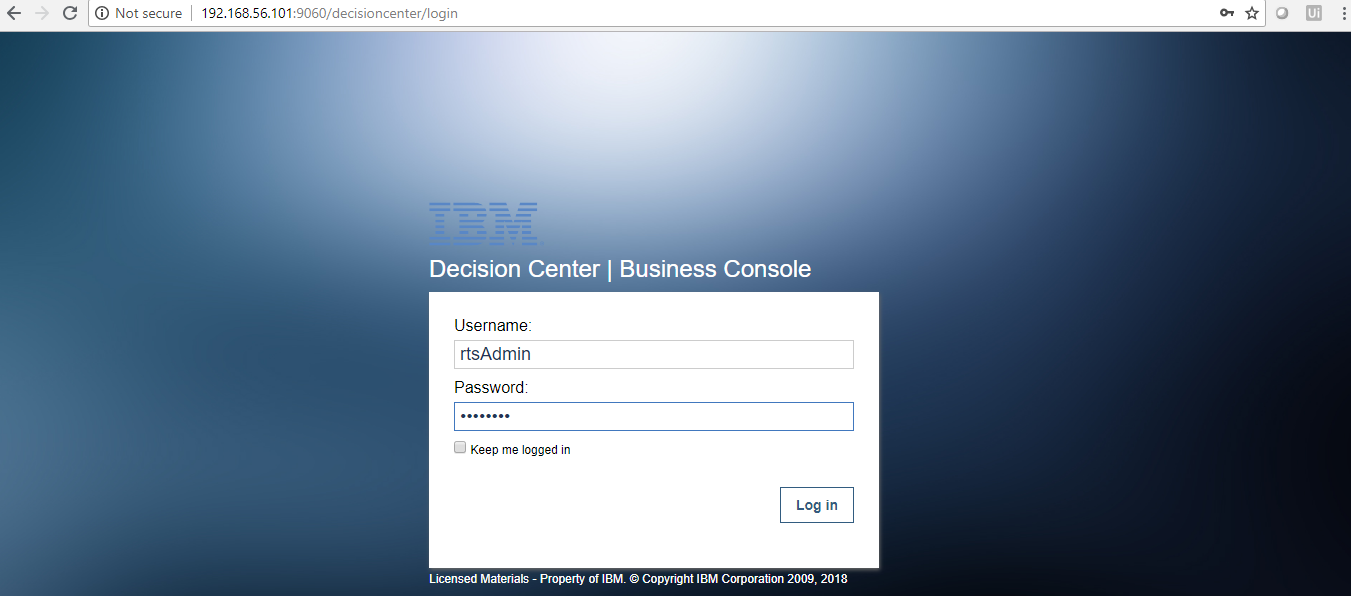
- Open the Decision Center, you should be able to log in odmAdmin or rtsAdmin:
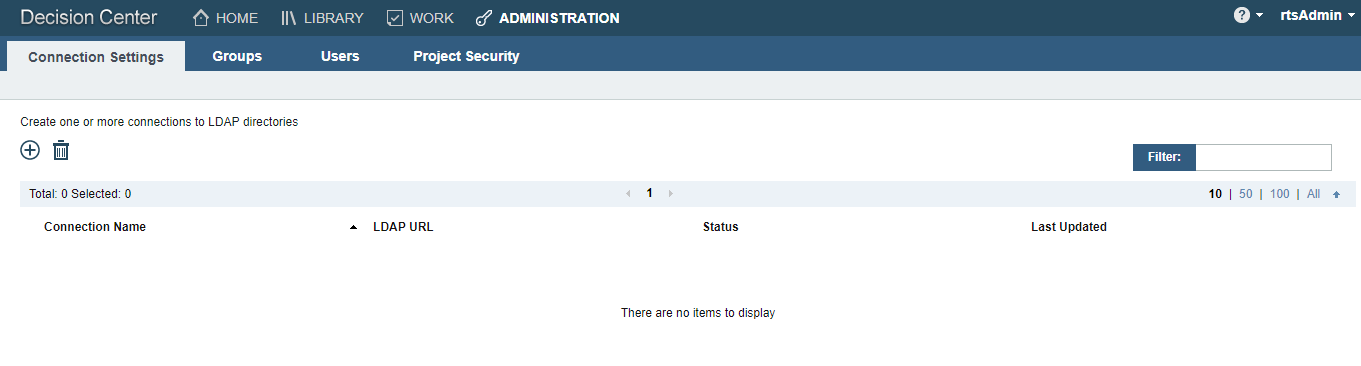
- And have a clean installation:
- Open the Decision Center, you should be able to log in odmAdmin or rtsAdmin:
-
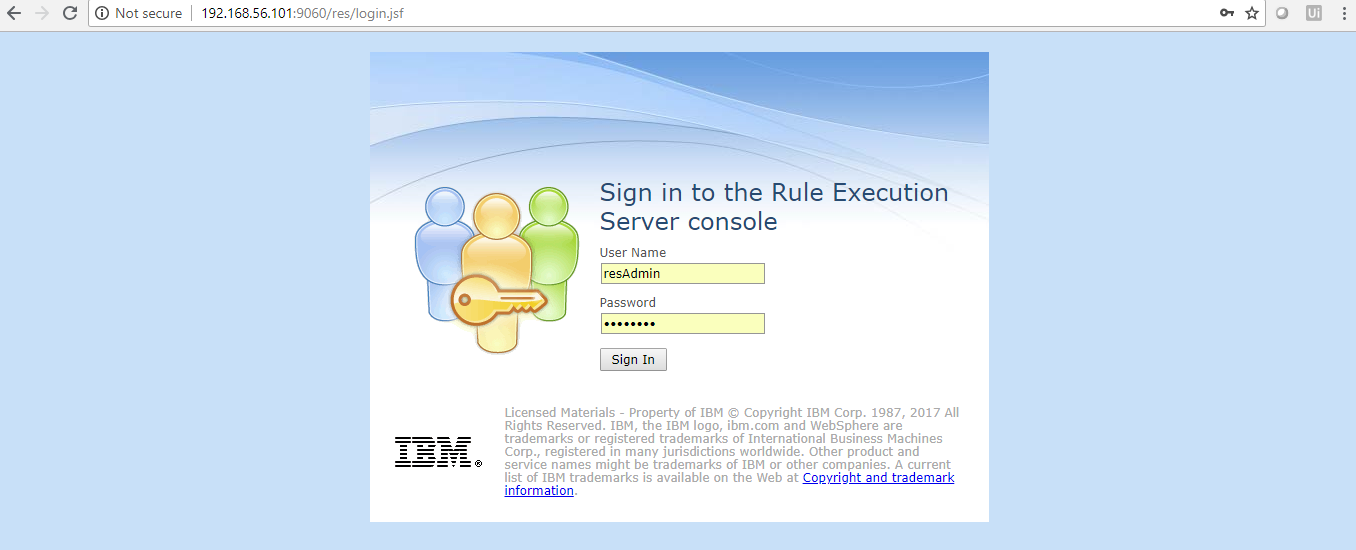
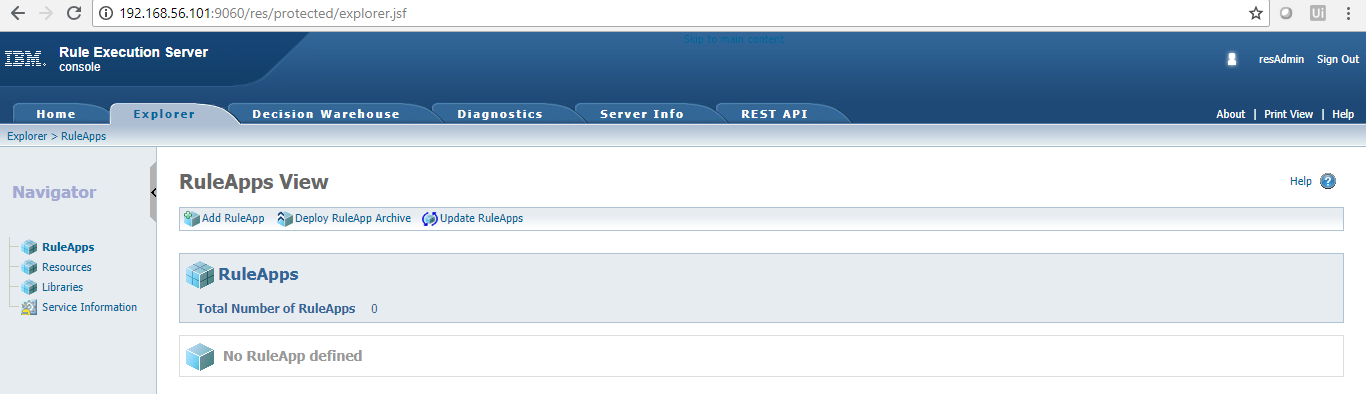
- Open the RES console, now use resAdmin:
- And also see no RuleApps deployed:
- Open the RES console, now use resAdmin:
- Install Eclipse with IBM ODM plugin
- Download and install Eclipse.
- Navigate to https://marketplace.eclipse.org/content/ibm-operational-decision-manager-developers-rule-designer and drag and drop the install

- Follow the instructions and reboot Eclipse, you should now see the Rule Designer perspective:

- Test IBM ODM on Docker
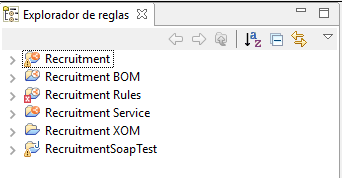
- Create a new project or import an existing project, I am going to use the Recruitment Service demo that I’ve using on previous posts:
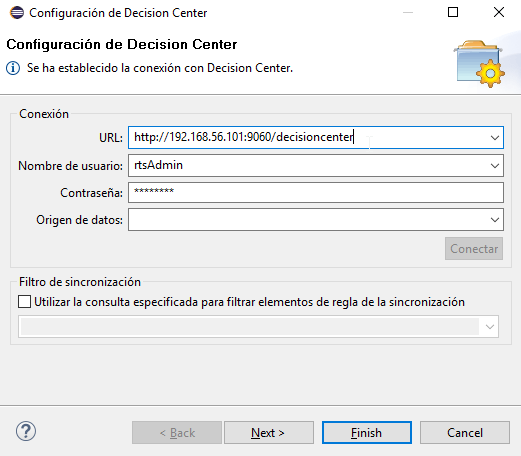
- Connect the main project to the Decision Center

- Enter the proper URL and credentials and test the conection:

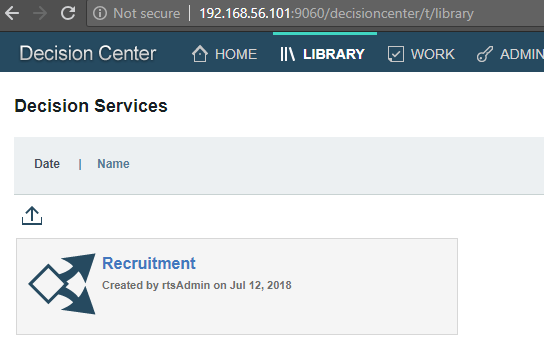
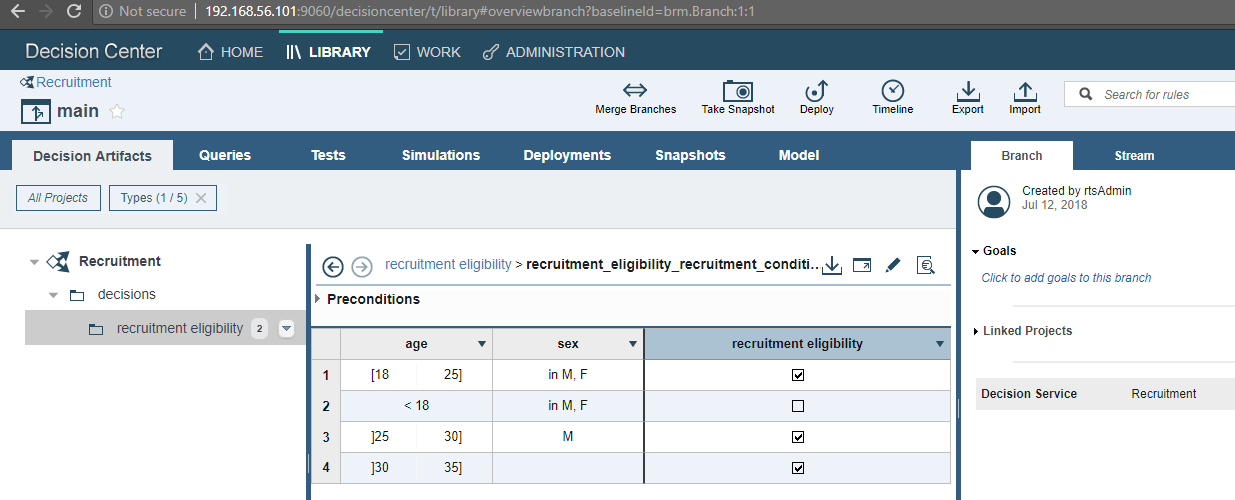
- Navigate to the Decision Center and verify the Decision Service is uploaded correctly:

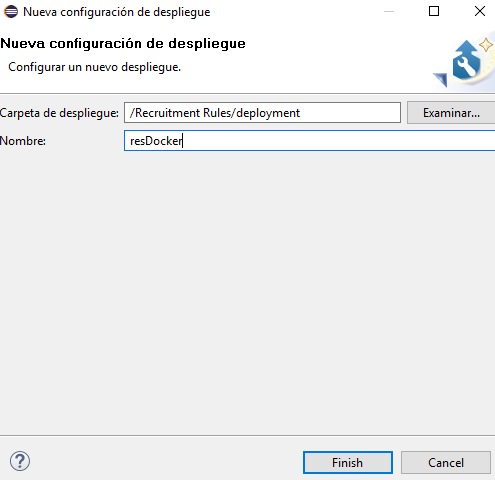
- Now we will test the deployment to the RES console, create a new Deployment Configuration
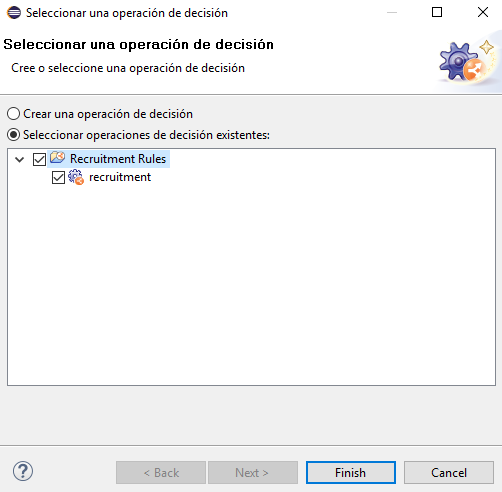
- Add a Decision Operation
- Add the ODM docker RES service
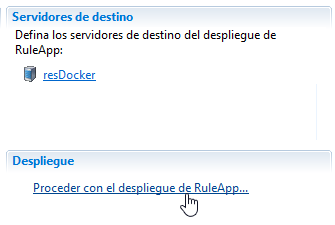
- Deploy the Ruleapp and select the recently added server

- Verify the ruleapp deployed correctly
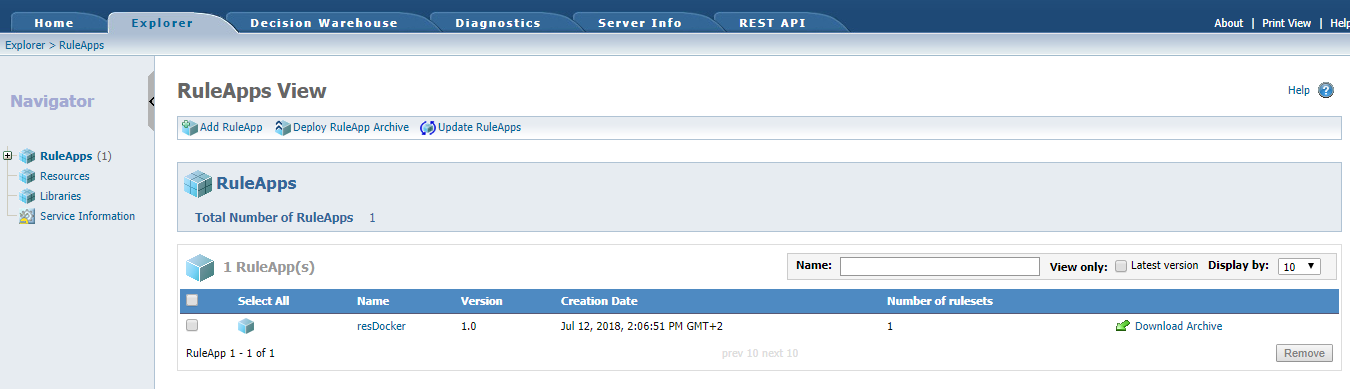
- Create a new project or import an existing project, I am going to use the Recruitment Service demo that I’ve using on previous posts:
As you can see we setup an ODM distribution in minutes and got a project sync with Decision Center and deployed in the RES console. ODM on Docker is great, we can use all the Docker containers and images functionalities.
I hope you enjoy this tutorial and as always please feel free to contact me for any feedback or questions! Thank you!
- Published in Cloud, Decision Center, Docker, Rule Designer, Rule Execution Server (RES)
Custom log file with ODM API
Given the positive feedback from previous post we will continue to work further on with the ODM API and discover new possibilities and features to implement in our Rule projects. In this tutorial we will see how to create a custom log file, focusing on obtaining the values from Deployments of Decision Services within the Business Console.
To understand the basics of the IBM ODM, please refer to my previous post about the IBM ODM API here.
- Creating a custom log file
- In our Java ODM API project let’s create a global variable to define the output file.

- Now create a constructor method to add the values you want in your custom log file. In this example we are obtaining the deployment time stamp when a business user deploys a Decision Service from the Business Console:

- Tip: Remember we need to throw an IOException class for our constructor.
- We can continue adding the values we require in our outfile variable. In this code example we are getting the following values:
- The timestamp an element changed (for example the deployment report)
- Who changed the element and who deployed it (business user who deploys the Decision Service)
- Rule project name
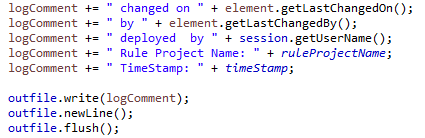
- Tip: Remember to format the log file with methods like newLine() and flush().
- Now we need to repackage and reinstall the teamserver.ear with our custom jar file and it will automatically start generating the log file when we make a Decision Service deployment. I will make a post explaining this process in detail in the future.
- In our Java ODM API project let’s create a global variable to define the output file.
If we did not specify an output location for the log file you will find it in <Your WAS Installation Path>\logs. I hope you enjoy this tutorial it helps you, please feel free to contact me with any feedback or questions! Thank you!
- Published in Decision Center, Java, ODM API, Rule Authoring, Rule Designer
Working with the Decision Center API
In many IBM ODM rules implementation projects we are going to have requirements that involve working with the IBM ODM API. Even though the Decision Center has a lot of powerful features to customize our rules, there are some things that can only be achieve by working with the API, this means we will have to work with java code and be familiar with the ODM API classes to accomplish our goals. In this tutorial I will show you the basics of how to establish a connection with the Decision Center from the Rule Designer and retrieve valuable project information. You can apply this for your particular requirement.
Steps:
- Getting familiar with ODM API
- We first need to take a moment and review some of the most important classes in the IBM ODM API documentation (IlrSession) , it’s ok if you don’t fully understand how they work at first. It is all about practice.
- Enter here to access the documentation.
- Creating a Java project
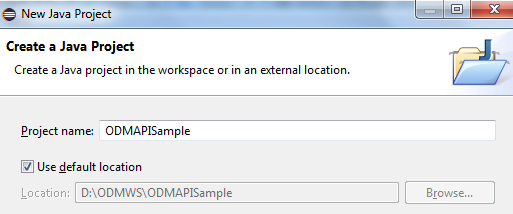
- Open Rule Designer and create a new Java Project
- Now we have to add the teamserver libraries to the build path for our Java project:
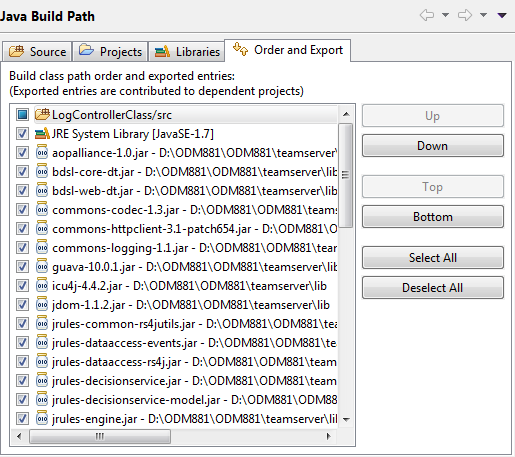
- Tip: the libraries are in <your_installation_path>\teamserver\lib
- Open Rule Designer and create a new Java Project
- Establishing the decision center connection
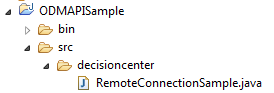
- Create a new main class to test our remote ODM API decision center connection
- Our java class needs to implement the IlrSession class:

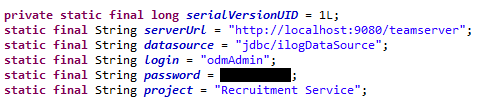
- Create your connection parameters, in my case:
- Now in our main class we need to create an object of the IlrSessionFactory class that implements IlrRemoteSessionFactory
- Lets call the connect method:

- Tip: be sure to work in a try/catch block to manage any connection exceptions
- Create a new main class to test our remote ODM API decision center connection
- Obtaining Decision Center data
- Now that we are able to connect to the Decision Center repository let’s try to obtain information about the project
- Create an object of IlrSession to obtain the current session:

- Lets obtain the rule project name:

Results:
We can work and obtain pretty much any data, object or method that is inside the Decision Center repository. We can also create our custom jar classes and repackage the teamserver.ear with it.
I hope you enjoy this tutorial and please let me now if you need help working with the ODM API and what do you want to see next. Thank you!
- Published in Decision Center, ODM API, Rule Designer
Editing business rules in Microsoft Office
IBM ODM Decision Center Business Console provides a powerful web-based decision table editor. Since V8.8.1, this includes exporting a decision table to Excel. But what if we are working in previous versions? or what if the business users still want to use Microsoft Office tools like Excel or Word to create/edit the rules? That is when Rule Solutions for Office comes in handy.
Rule Solutions for Office enables you to edit business rules in Microsoft Office documents called RuleDocs. You can update and share rules with RuleDocs, which can also provide supporting documentation and information such as the original policies for the rules. It works in conjunction with Decision Center, which serves as a workspace for business users to collaborate on authoring, editing, organizing, and searching for business rules.
In this tutorial I will you show the steps to set it up correctly and start editing your business rules in Office!
Steps:
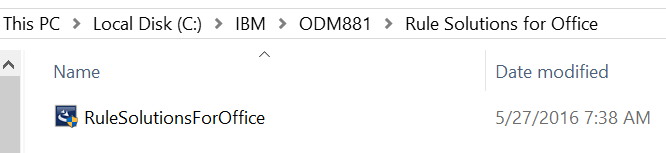
- Go to <Your ODM Installation Path>\Rule Solutions for Office and install the plug in.
- Login to your Decision Center Enterprise Console, you will need to have the Decision Service project already synced with Decision Center.
- Tip: Click here to learn more about synchronizing with Decision Center from the Rule Designer.
- Select the Decision Service that contains the rules you need to edit.
- Tip: Remember to Select the Rule Project too.

- Now select the package with the Decision Table or Rule Action you want to edit. You will notice there is no option to edit the rule in Microsoft Office:

- That is because we need to add configuration parameter to enable the Rule Solutions for Office editing:
- Go to Configure and click “Installation Settings Wizard”
- Tip: you will need to be logged in with a user that has the rtsInstaller and rtsConfigManager role to see this option.
- Click “Step 5: Set Configuration Parameters” and click “New”
- Search for “Enable editing in Rule Solutions for Office” option and type “true” in the value textbox:

- Click Apply and Exit
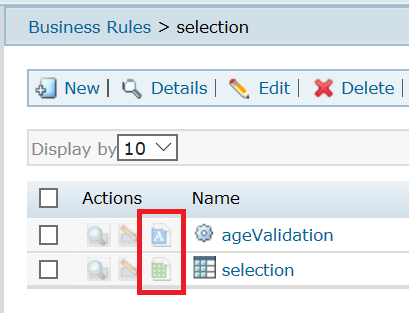
- Go back to your rule package in the “Explorer” tab and now you should be able to see new options:
Results:
Now you are able to edit the rules in Word/Office! Explore the options that the Rule Solutions for Office provide, remember that the Rule will remain lock until you finish the editing. I hope this article helps you, please feel free to contact me with any feedback or questions! Thank you!
- Published in Decision Center, Rule Solutions for Office