RPA – UiPath: Working with Excel
In this blog post we will talk about working with Excel files in one of the top RPA tools: UiPath. As we know Robotic process automation (RPA) is the practice of automating routine business practices with “software robots” that perform tasks automatically. These tasks include transaction processing, IT management and automated online assistants. These software robots could replace human beings for common tasks, being Excel one the most used business tools in the world.
To understand the basics of UiPath, please refer to this link.
In this example we are going to use a case defined in a practice exercise of the UiPath academy where we have different values in 2 columns (A and B) and we need to write the sum in the column C. This is a pretty simple task but we are going to do it in 3 different ways and analyze the development and execution time for each solution.
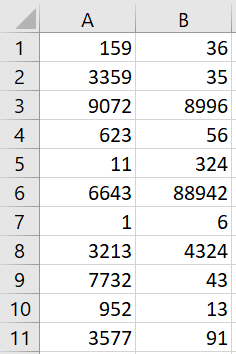
The input file example:
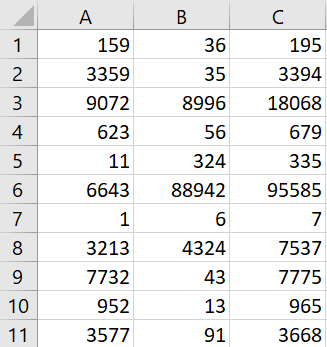
Output file example:
First method: Using Excel Application Scope and Get Row activities
- This is standard way. We are going to have the following composition:
- Main Sequence
- Excel Application Scope
- Read Range
- For each row
- Find current row
- Get Row A
- Get Row B
- Assign sum to value C
- Write value C in C Column

- Excel Application Scope
- Main Sequence
- Let me explain the steps of this method:
- We open the Input excel file with the Excel Application Scope
- We read the values using the “Read Range” activity and saving the output in a Datatable variable
- Now for each row we get the Column A and B values with the “Get Row” activity
- We add the total to third variable
- We use the “Write Cell” activity to write the third value in the Column C
Second method: Without using Excel Application Scope
- In this method we will do everything internally and we are going to create the C column manually. This is the composition:
- Main Sequence
- Read Range
- Add data column
- For each row
- Assign A value
- Assign B value
- Set the value for Column C
- Write Range
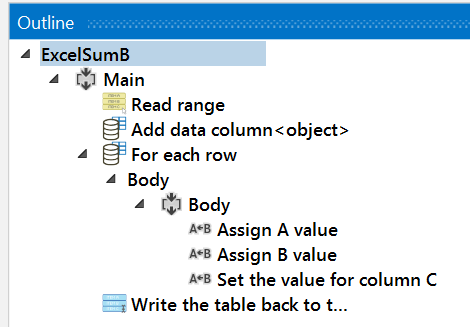
- Main Sequence
- Explanation:
- We read the values using the “Read Range” activity and saving the output in a Datatable variable
- We add the Column C using “Add Data Column” activity
- Now for each row we get the Column A and B values using “Assign” activity
- We assign the sum to the Column C (row (2)) value parsing to the A and B values to integer
- We write the whole table back to the original excel or a new file using “Write Range” activity
Third method: Using Excel Application Scope and Excel formulas
- In this method we will use the Excel internal formulas to sum the values and save coding time. This is the composition:
- Main Sequence
- Excel Application Scope
- Read Range
- Assign rows count
- Write Value
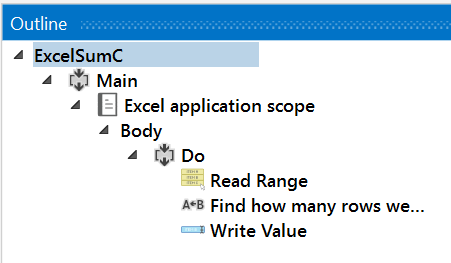
- Excel Application Scope
- Main Sequence
- Explanation:
- We read the values using the “Read Range” activity and saving the output in a Datatable variable
- We find out the number of rows and assign it to a variable
- Now we finish by writing directly “=SUM(A1,B1)” in the “C1:C”+rowsCount range.
Conclusion:
We have successfully automate the use case using 3 different methods. Now let’s analyze the results and benefits of each case using 3 aspects:
- Development: involving the difficulty of doing it and how robust and easy to understand the code is.
- Execution time: how fast the robot executes the code
- Benefits for the business
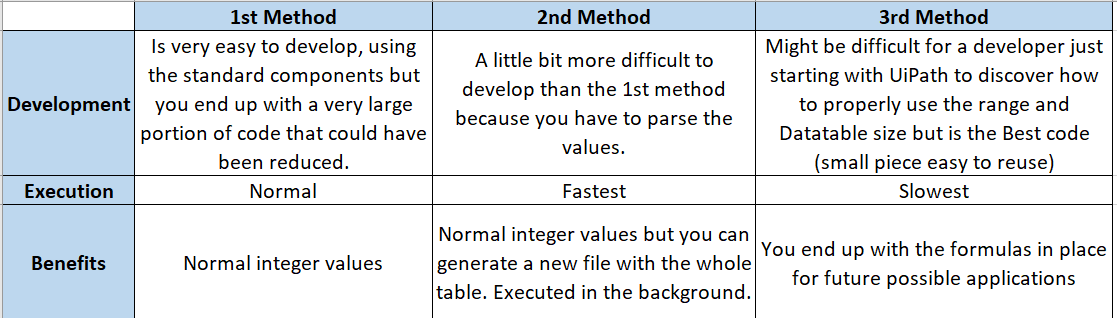
In conclusion, the 3 methods work ok and it will depend on the business needs and developers to use the correct way for each process.
I hope you enjoy this article about UiPath and as always feel free to contact me with any questions or feedback. Thank you!
RPA: UiPath and ODM integration
In this technical tutorial we will have a look at the integration between RPA UiPath and IBM ODM. As we know ODM provides a decision server that the business can use to express rules while UiPath provides RPA to automate tasks, normally manual processes that uses repetitive tasks like data entry, making this integration a perfect collaboration.
To understand the basics of UiPath, please refer to this link.
- Testing the ODM project
- For this tutorial, I will use the ‘Recruitment’ project I made for previous posts. Check some details about the project here.
- Make sure your project is successfully deployed in the RES console and that the Sample Server is up and running.
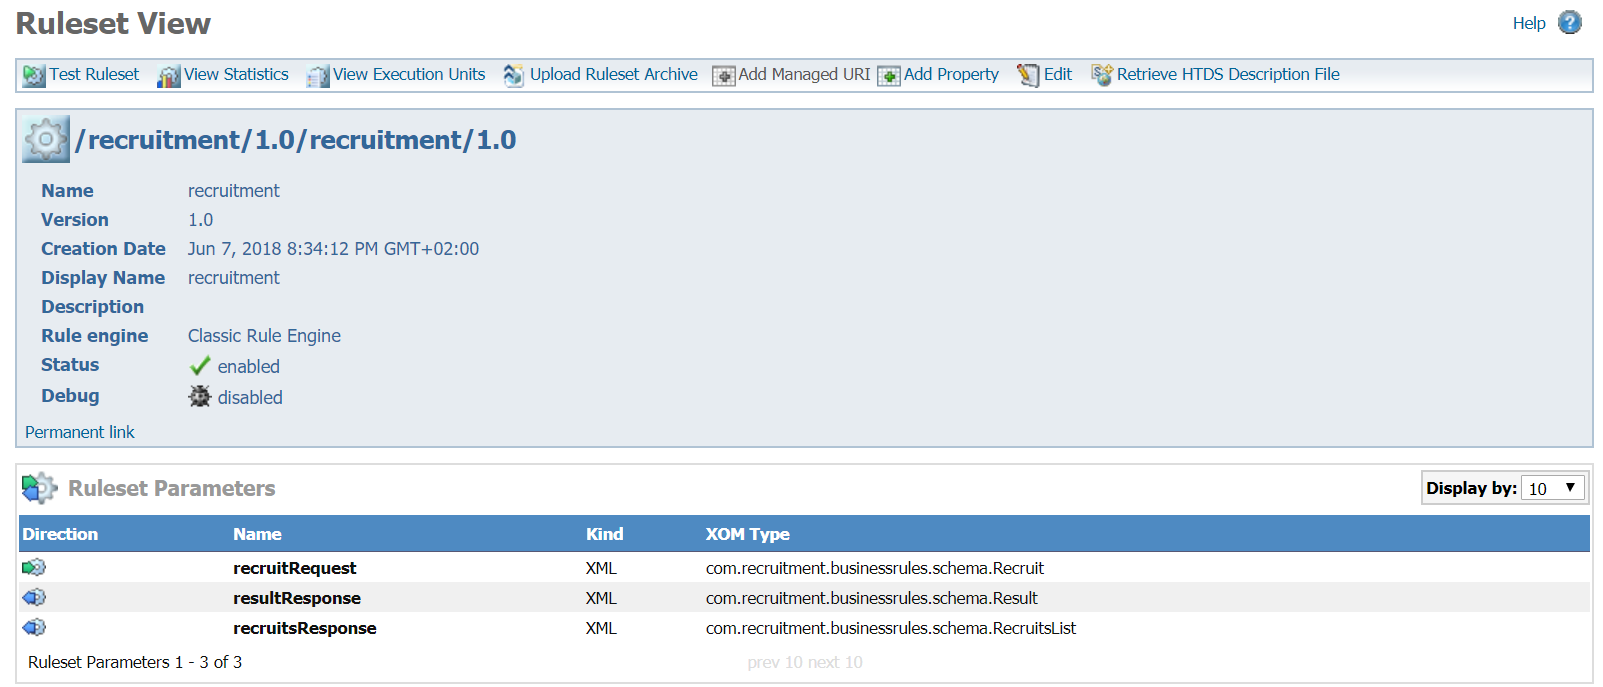
- Open the RES console and navigate to your project Ruleset view:
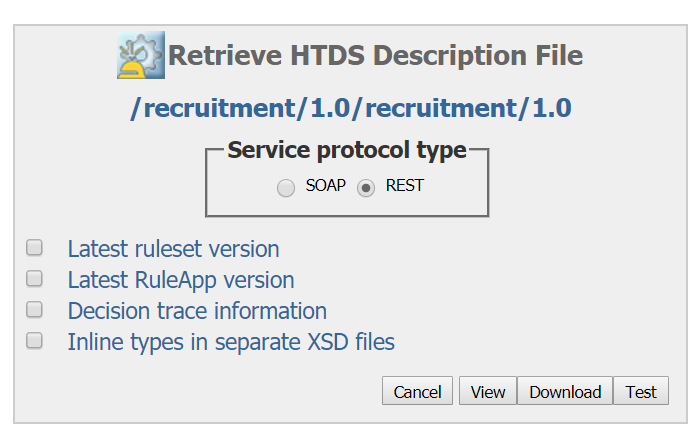
- Click on ‘Retrieve HTDS Description File’, select ‘REST’ and click on Test:
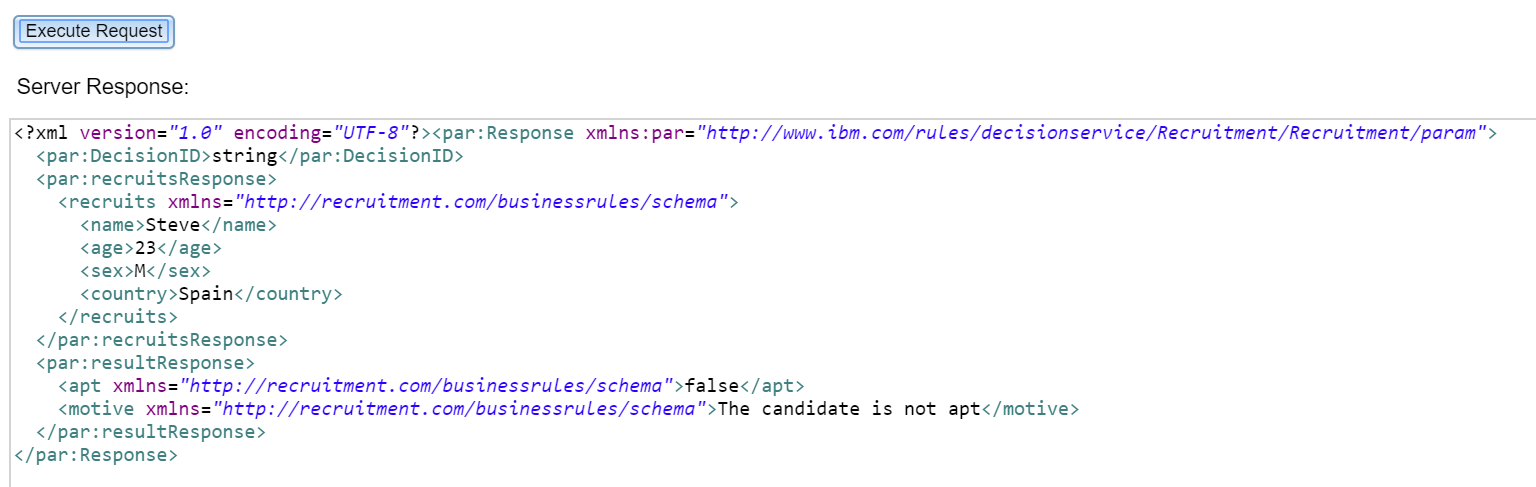
- In my example I will test with 2 scenarios for the ‘Country’ value.
- “Spain” will return that the candidate is not apt and 1 object in our Recruits list:
- “Peru” will return that the candidate is apt and 2 objects in our Recruits list:

- “Spain” will return that the candidate is not apt and 1 object in our Recruits list:
- Now go back to the HTDS page and click on ‘View’. Copy the URL, we will use it later in UiPath:

- Remember you can also use JSON format for your execution requests and external tools like SoapUI or Postman (my favorite) to test your services.
- Creating the UiPath project
- Now that we know our Decision Service is working properly, we will create a simple UiPath project that will call our service and print the response.
- We will use UiPath community version (free), you can download it from here.
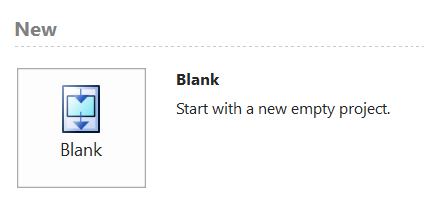
- Open the UiPath studio and create a new Blank Project:
- Calling the ODM web service
- This is the tricky part, UiPath community edition doesn’t come with the SOAP or HTTP request activities by default, we will need to install them.
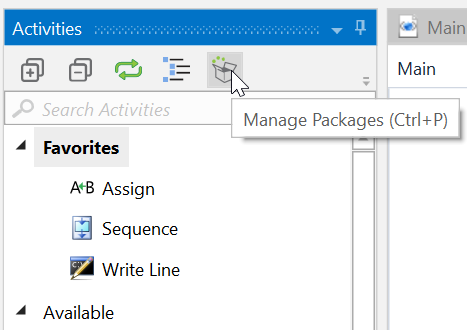
- Open the ‘Manage Packages’ option:
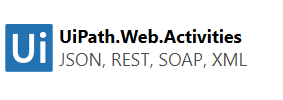
- Search for UiPath.Web.Activities and install it:
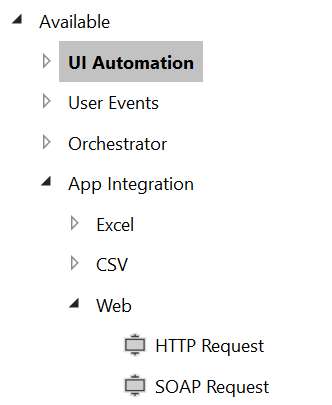
- You should be able to see the 2 options in the Activities Panel:
- Now we need to decide if we want to consume the web service as a SOAP request call or as a REST API method. Let’s talk about the 2 options in UiPath:
- SOAP: If we want to use SOAP we will encounter a problem if we are using custom objects, as of now, UiPath is not able to properly identify the methods and types for your objects in order to make the request in the correct format. You will an error like this when we test and invoke:
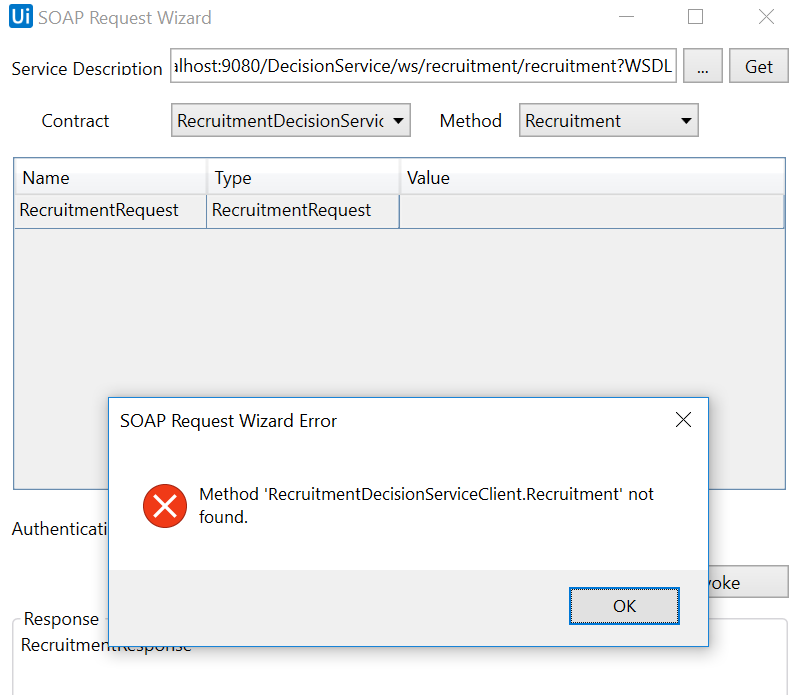
- There is a way to accomplish but it will require to create a custom activity, we will not cover that in this post but you can follow this guide to do it.
- REST: This is the option we are going to choose for this tutorial. We just drag the ‘HTTP Request’ activity.
- In the ‘End point’ field we paste our WADL url, we select the ‘POST’ method and click Ok.
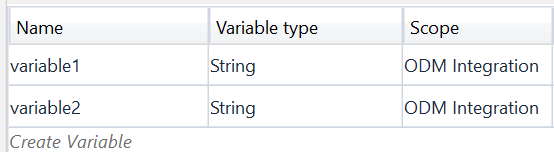
- We need to create 2 variables, one for the input body and one for the response. We just select the ‘Variables’ option and assign ‘String’ to both:
- We need to include the XML expression for our Request in the first variable but UiPath studio will not recognize this as a proper VB Expression, so we need to adjust our ‘”‘ marks in order to obtain a valid XML, this is my value for the input variable:

- This will convert our XML in a proper String and UiPath will not give us any errors.
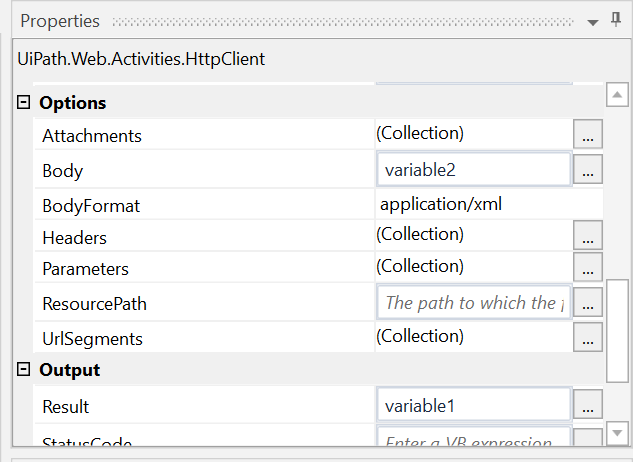
- We assign the 2 variables in the properties of the HTTP Request activity:
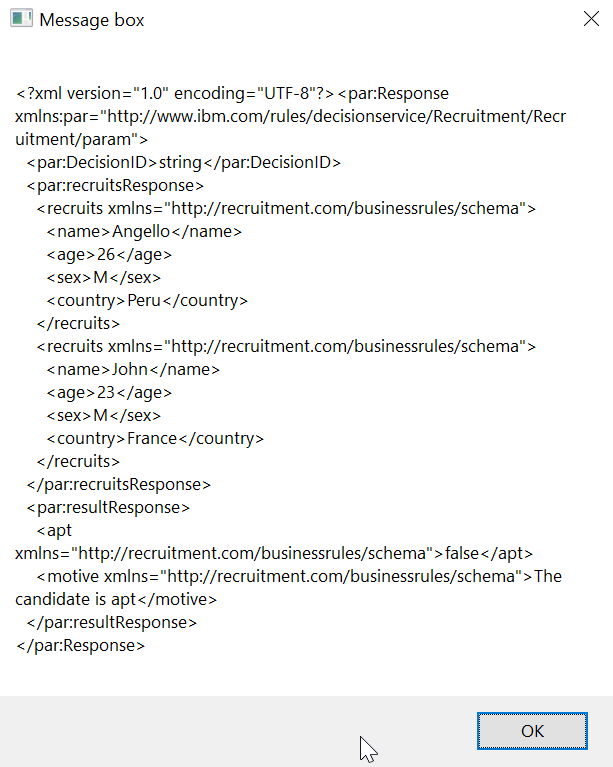
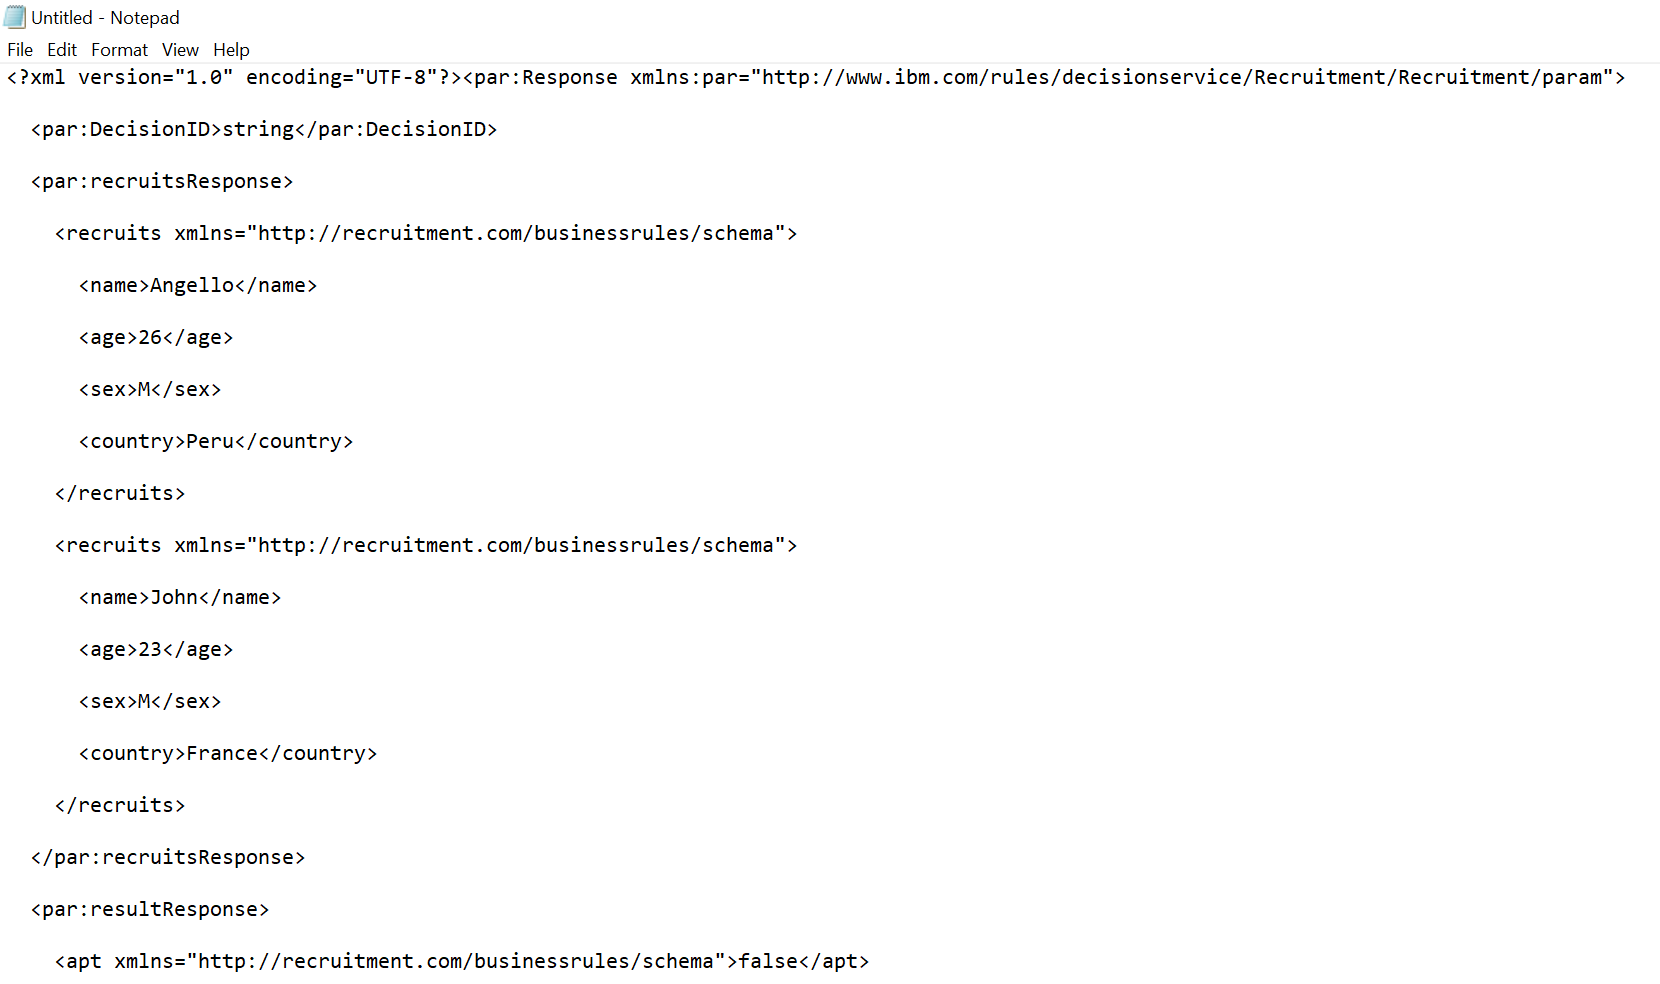
- We create a Message Box or we open Notepad to show our response (variable2):
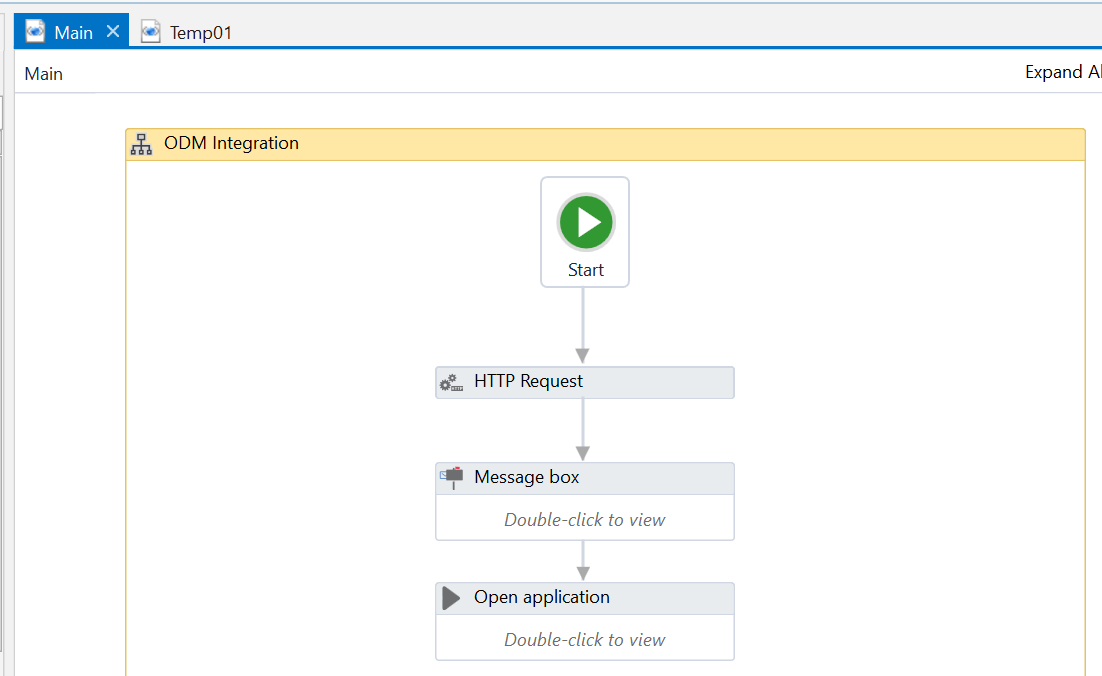
- We run our project:
- SOAP: If we want to use SOAP we will encounter a problem if we are using custom objects, as of now, UiPath is not able to properly identify the methods and types for your objects in order to make the request in the correct format. You will an error like this when we test and invoke:
We have successfully called a ODM Service from an UiPath project and capture the response. In the next post I will show how to deserialize the XML and use the data for different purposes, stay tuned!
I hope you enjoy this tutorial and please feel free to contact me with any query or feedback, thank you!
- Published in RPA, Rule Execution Server (RES), UiPath