Deploying Rule projects into IBM Bluemix
IBM Bluemix is a cloud platform that helps you solve real problems and drive business value with applications, infrastructure and services. There are other powerful cloud services like AWS, Azure or Google Cloud platform but IBM Bluemix comes with pre-designed services for your IBM software solutions. In this article we will see how the Business Rules service allows us to deploy our Decision Operations from Rule Designer or Decision Center console directly to IBM Bluemix cloud. In order to test this you will need to create a IBM Bluemix account that comes with 30 days free trial.
Steps:
- Creating the Business Rules service
- Login to your IBM Bluemix account.
- Click “Catalog” and search for “Business Rules”
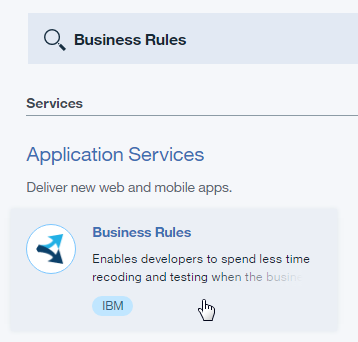
- Tip: This service gives you 1,000 API calls free per month that is more than enough for dev purposes, you can cancel the service at any time.
- Click “Create” and give a proper name.
- Navigate to the “Connection Settings” tab and you should be able to see the connection details like this:
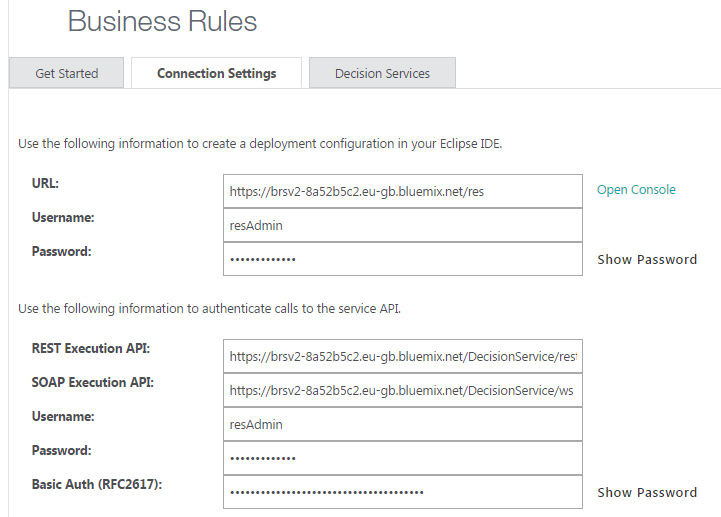
- Tip: Click “Open Console” and navigate just like in your RES local installation.
- Configuring the Deployment
- Now that our Business Rules service on IBM Bluemix is ready, let’s configure and deploy the Rule project.
- Open Rule Designer and navigate to the deployment folder of the Rule project.
- If you have a previous deployment configuration already set up you can just add the new IBM Bluemix RES server target:
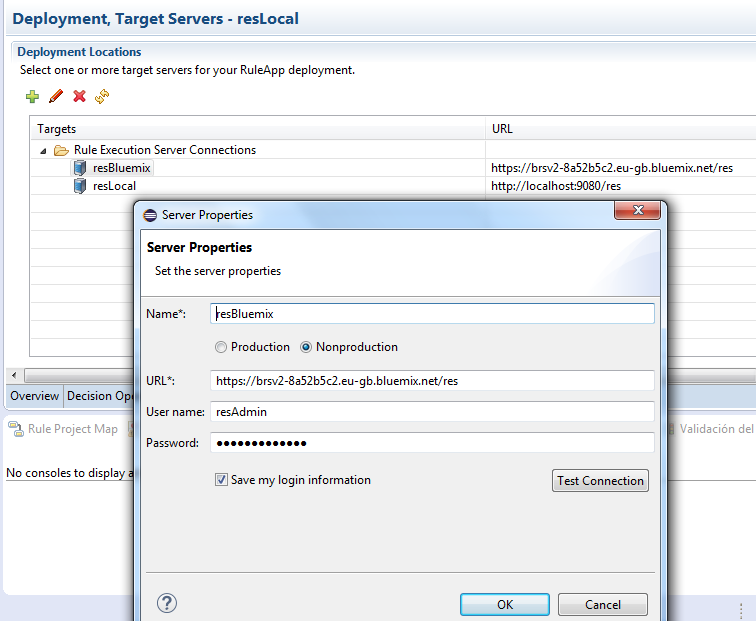
- Insert the Bluemix connection details and test the connection.
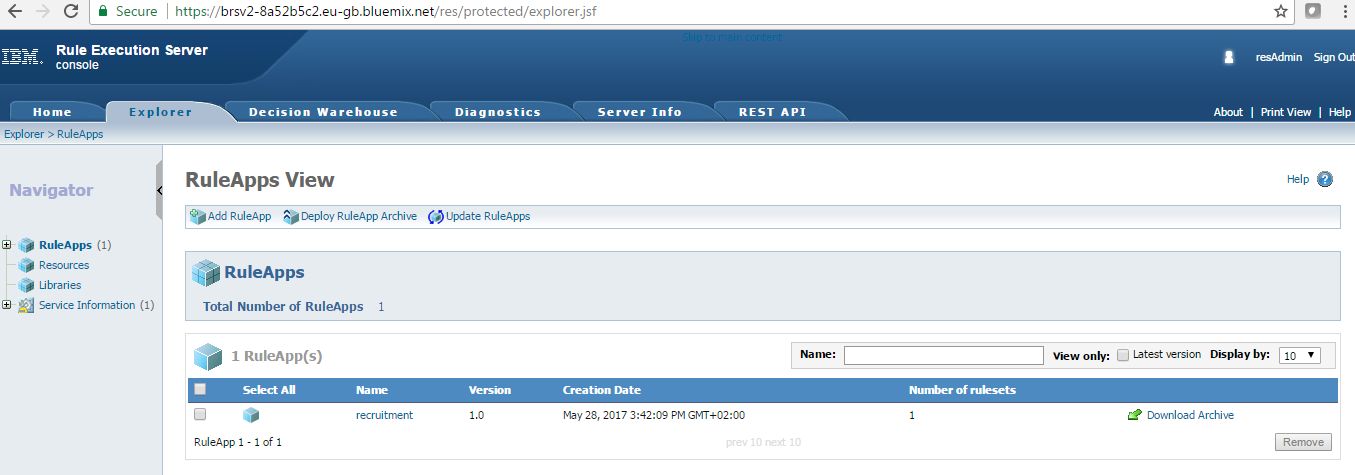
- Deploy the Decision Operation Ruleapp and verify the deployment by accessing the IBM Bluemix RES console.
- The Ruleapp should appear like this:
- Testing our Rule web service in SoapUI
- Navigate to the Ruleset view by clicking on the Ruleapp Name and then the Ruleset name in the RES console.
- Click the “Retrieve HTDS Description File” option:

- Download the SOAP HTDS file or click view and copy the WSDL URL.
- Open SoapUI and create a New SOAP project.
- Insert the wsdl URL, username and password.
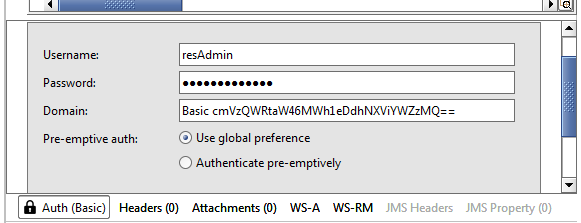
- Now you have the request ready, the only thing missing is the security authorization. Click the “Auth” option and select Basic, type the Bluemix Business Rules service username and password.
Results:
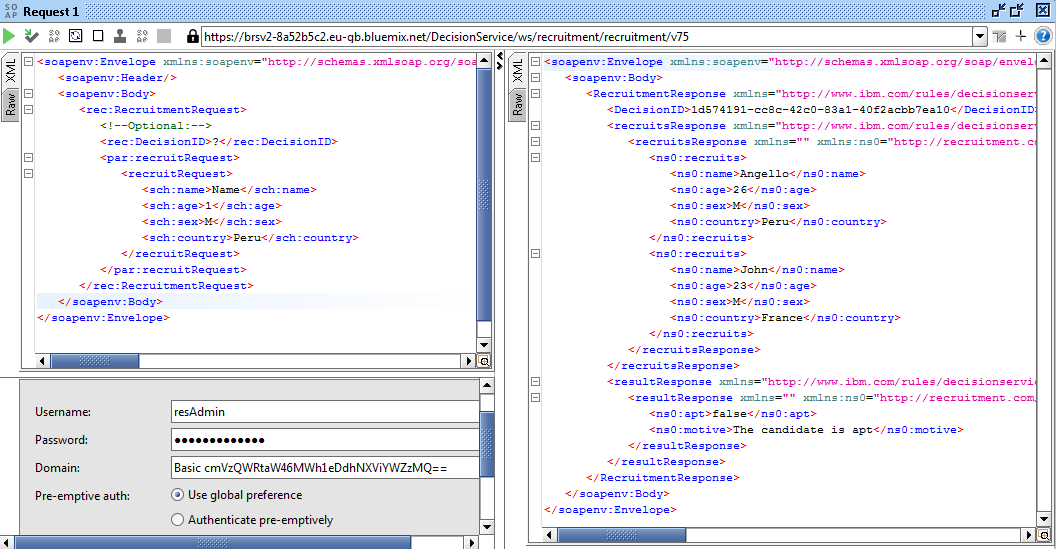
You are ready to call your Rules from anyplace, anywhere. Just share your WSDL url with the client application and give the proper authorization. Having the Rule Execution Server on the cloud is a great way to test your rules in development without depending on your local Sample Server.
I hope you enjoy this tutorial and as always please feel free to contact me for any feedback or questions! Thank you!
- Published in Bluemix, Cloud, Rule Authoring, Rule Designer, Rule Execution Server (RES)
Debugging a simple Ruleflow in Rule Designer
There are many ways to test our rules, we can use Excel DVS testsuites, decision operations, web services applications like SoapUI and more, but sometimes we need to debug our ruleflow to find a particular bug that is preventing us to continue. When developing a new rule project in Rule Designer we often need to see the output of our rules without having to deploy our solution and see the behavior of the ruleflow to compare the variables values.
In this article I am going to show how to debug a simple ruleflow using a decision operation to test your Rules.
Steps:
Let’s assume we already have the ruleflow, variables and rules.
- Creating the Decision Operation
- Right click the “deployment” folder in your Rule Project and select New -> Decision Operation.
- Give a proper name, select the Rule Project and select the Ruleflow inside your Rule Project.
- Now open your Decision Operation and you should have one like this:

- Click “Define” or to the “Signature” tab.
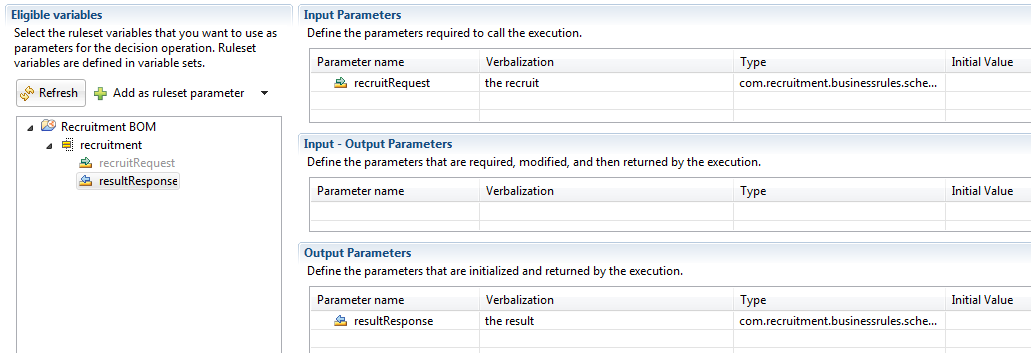
- Expand your varible set and drag and drop the corresponding variables to the Input and Output Parameters.
- Tip: Is a good practice to name your input variable with “Request” at the end and “Response” for your output.
- Setting the breakpoints
- There a many places where we can define our breakpoints, it depends on what you need to test and where do you want the flow to stop execution. I will show some examples of places where you can put your breakpoints next.
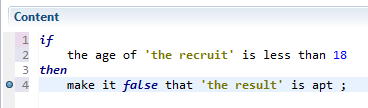
- Action Rule:
- Open your Action Rule, right click in the gray space of any Action line and select “Toggle Breakpoint”
- Open your Action Rule, right click in the gray space of any Action line and select “Toggle Breakpoint”
- Decision Table:
- Open your Decision Table, right click in any cell of an Action column and select “Toggle Breakpoint”

- Open your Decision Table, right click in any cell of an Action column and select “Toggle Breakpoint”
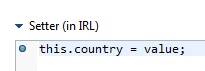
- BOM member
- Open a BOM member with BOM to XOM mapping logic, locate the Setter code, right click in the gray space and select “Toggle Breakpoint”
- Open a BOM member with BOM to XOM mapping logic, locate the Setter code, right click in the gray space and select “Toggle Breakpoint”
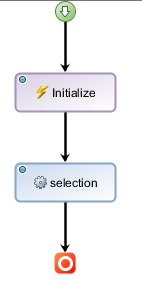
- Ruleflow artifacts
- This is the most common way to debug our Rules, in the ruleflow you can add breakpoints to any task. Select any task, right click and select “Toggle Breakpoint”
- This is the most common way to debug our Rules, in the ruleflow you can add breakpoints to any task. Select any task, right click and select “Toggle Breakpoint”
- Creating the Debug Configuration
- Navigate to Run -> Debug Configurations… in your Rule Designer top bar.
- Locate the Decision Operation artifact, right click and select New.
- Give a proper name and Browse for your Decision Operation.
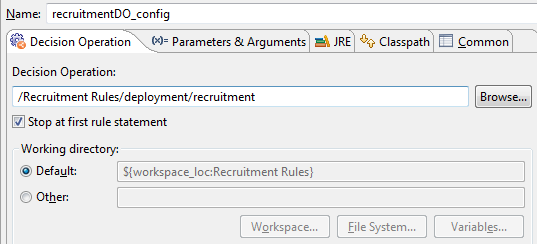
- Tip: The checkbox “Stop at first rule statement” guarantees you enter debug mode if you didn’t set any breakpoints.
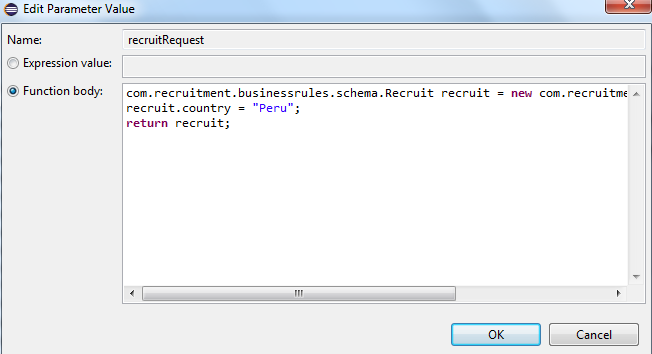
- Now the most important step is to define the “Parameters and Arguments” for this configuration, select the tab and click “Edit Value”.
- You have to create and return a new object of your Input Parameter class, you can also assign testing values. Click “Function body” and add the proper code. Take a look at my sample:
- Click Apply and Debug.
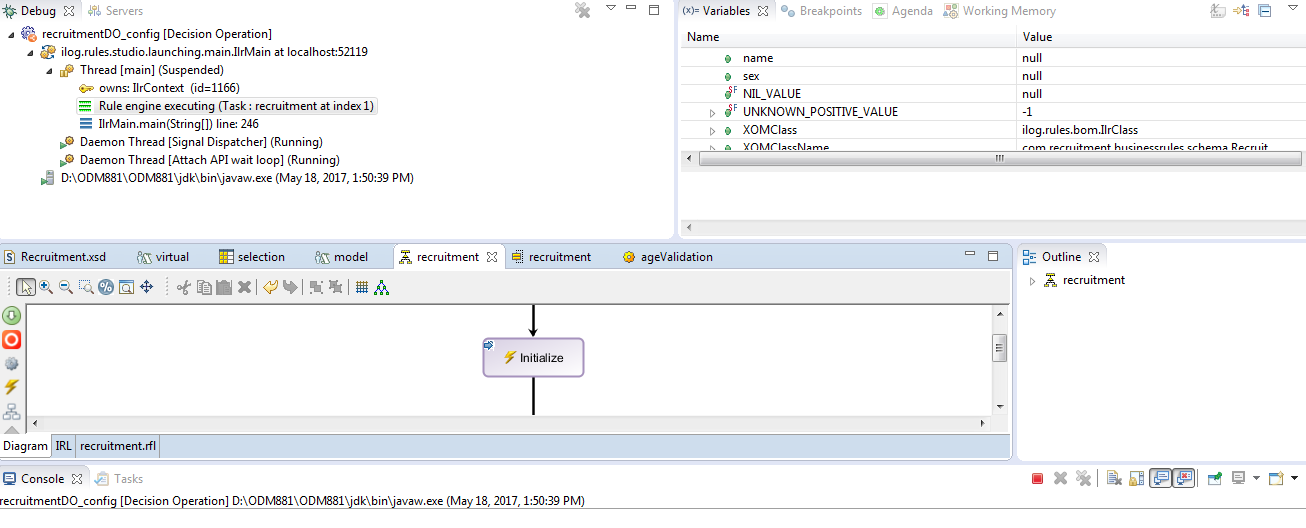
Results:
Now you are in Debug mode, watch your variables and step through your code and rules!
I hope you enjoy this article, as always please feel free to contact me about any question or feedback. Thank you!
- Published in Debug, Decision Operation, Java, Rule Authoring, Rule Designer, Ruleflow